My group and I had an amazing experience climbing Mt Whitney; the tallest peak in the contiguous US. The peak is 14,508(ish) feet. The hike is 22 miles, with a 6,600+ foot elevation gain. It’s no walk in the park, but absolutely doable for those who prepare and research. This was my first 14’er, ever, and it was truly a wonderful one to start with!
I successfully summited this mountain on a day hike via Mount Whitney Trail with 3 other people on June 6th, 2021. It took us about 16 hours including breaks and an hour hang out at the summit. This is about the average time it takes most hikers. We worked together to assure we were all feeling good by keeping a moderate-slow pace and staying close together.
We did a lot of research prior to the trip, and were sure to bring all supplies necessary (plus some) for the hike. The supplies needed will vary depending on the season and conditions. Our conditions were absolutely wonderful due to the lack of snow this year, so make sure to check conditions before your adventure because you may need more than we did!
Trekking Poles I used (Affiliate). Water Bladder I used (Affiliate).
Training for Mt Whitney
This is definitely a hike you want to prepare for. The length (21.2 miles) and elevation gain (6,663 ft) are no joke, so get some hikes and leg workouts in before you go. For about three months leading up to this hike I was sure to get 10,000-15,000 steps in per day with some rest days in between. I also have been pretty constantly active my whole life, so if you’re going from not much hiking to this, I would recommend doing this for at least few months leading up to the adventure.
Are you in need of high quality clothing that doesn’t stink while you’re hiking? Check out Unbound Merino (Affiliate Partner) Merino Wool Clothing
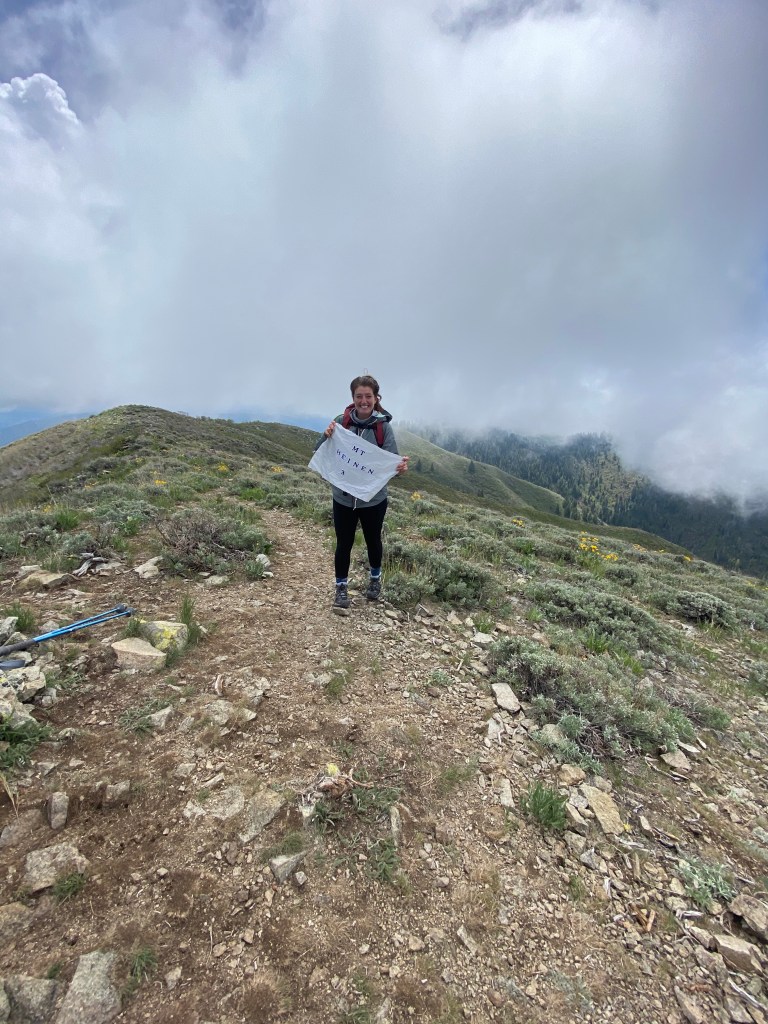
I did the stair stepper for an hour (speed at 8-10) at least once a week leading up to the hike and even did it in my hiking books a couple of times! I added a weight vest for a few of these days to get used to the day pack I would be wearing as well. I also hiked 5-10 miles once or twice a week for a couple months leading up to the hike. Most of the long hikes were about half the elevation gain Mt. Whitney was. If I was located in a state with a little bigger mountains I would have tried to summit some over 12k feet! Two weekends before the hike I did a 14 mile hike and was happy to have had that final push myself challenge. Two of my training hikes:

Permits
You must have a permit to hike Mt. Whitney. They are $15 per person (THIS COULD HAVE CHANGED SINCE 2021.) Only one person has to have the permit for the correct number of people. They release about 100 permits per day. Our permit was for one day, June 6th. Some permits are for over nights where you can then camp at the designated campgrounds on the mountain.
Here is all the information you need to score a permit on Recreation.gov: https://www.recreation.gov/permits/233260
Acclimating & Altitude sickness
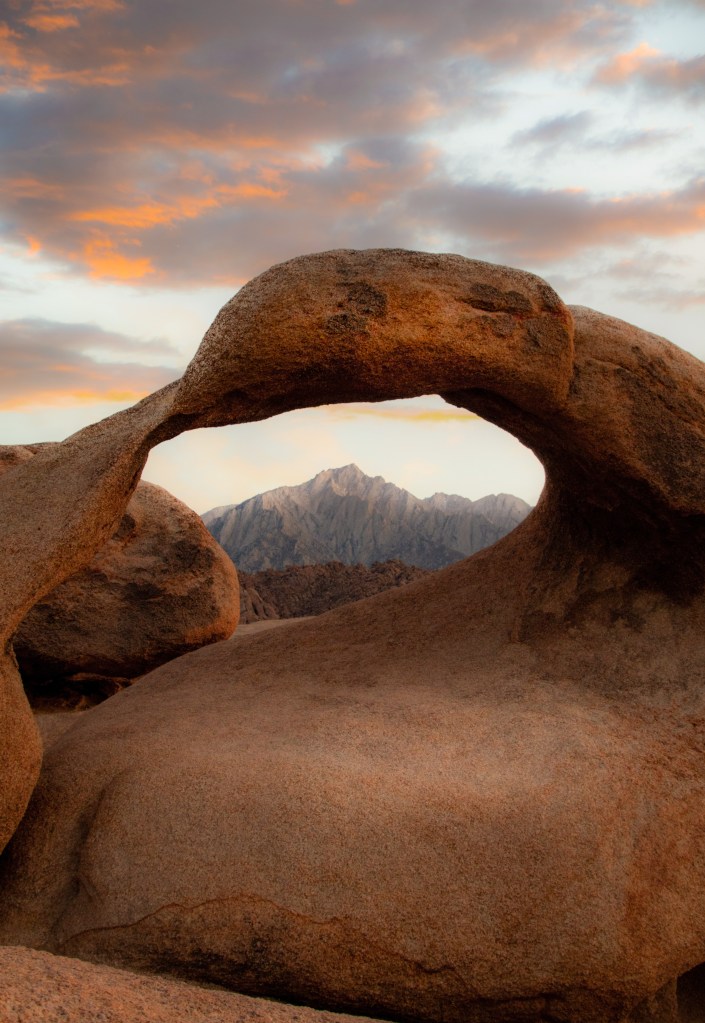
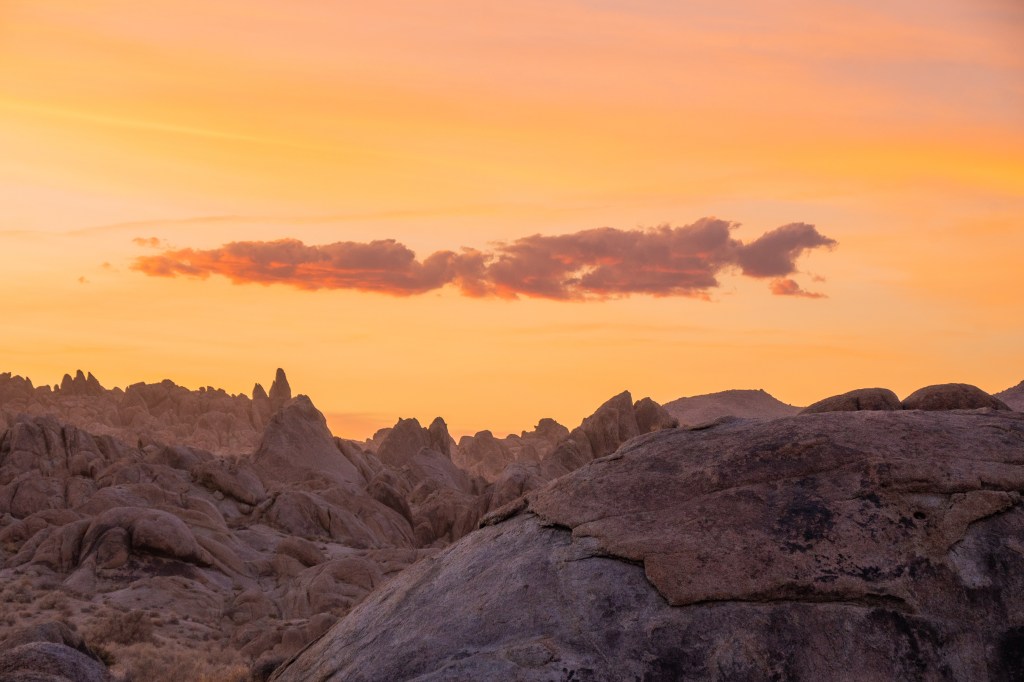
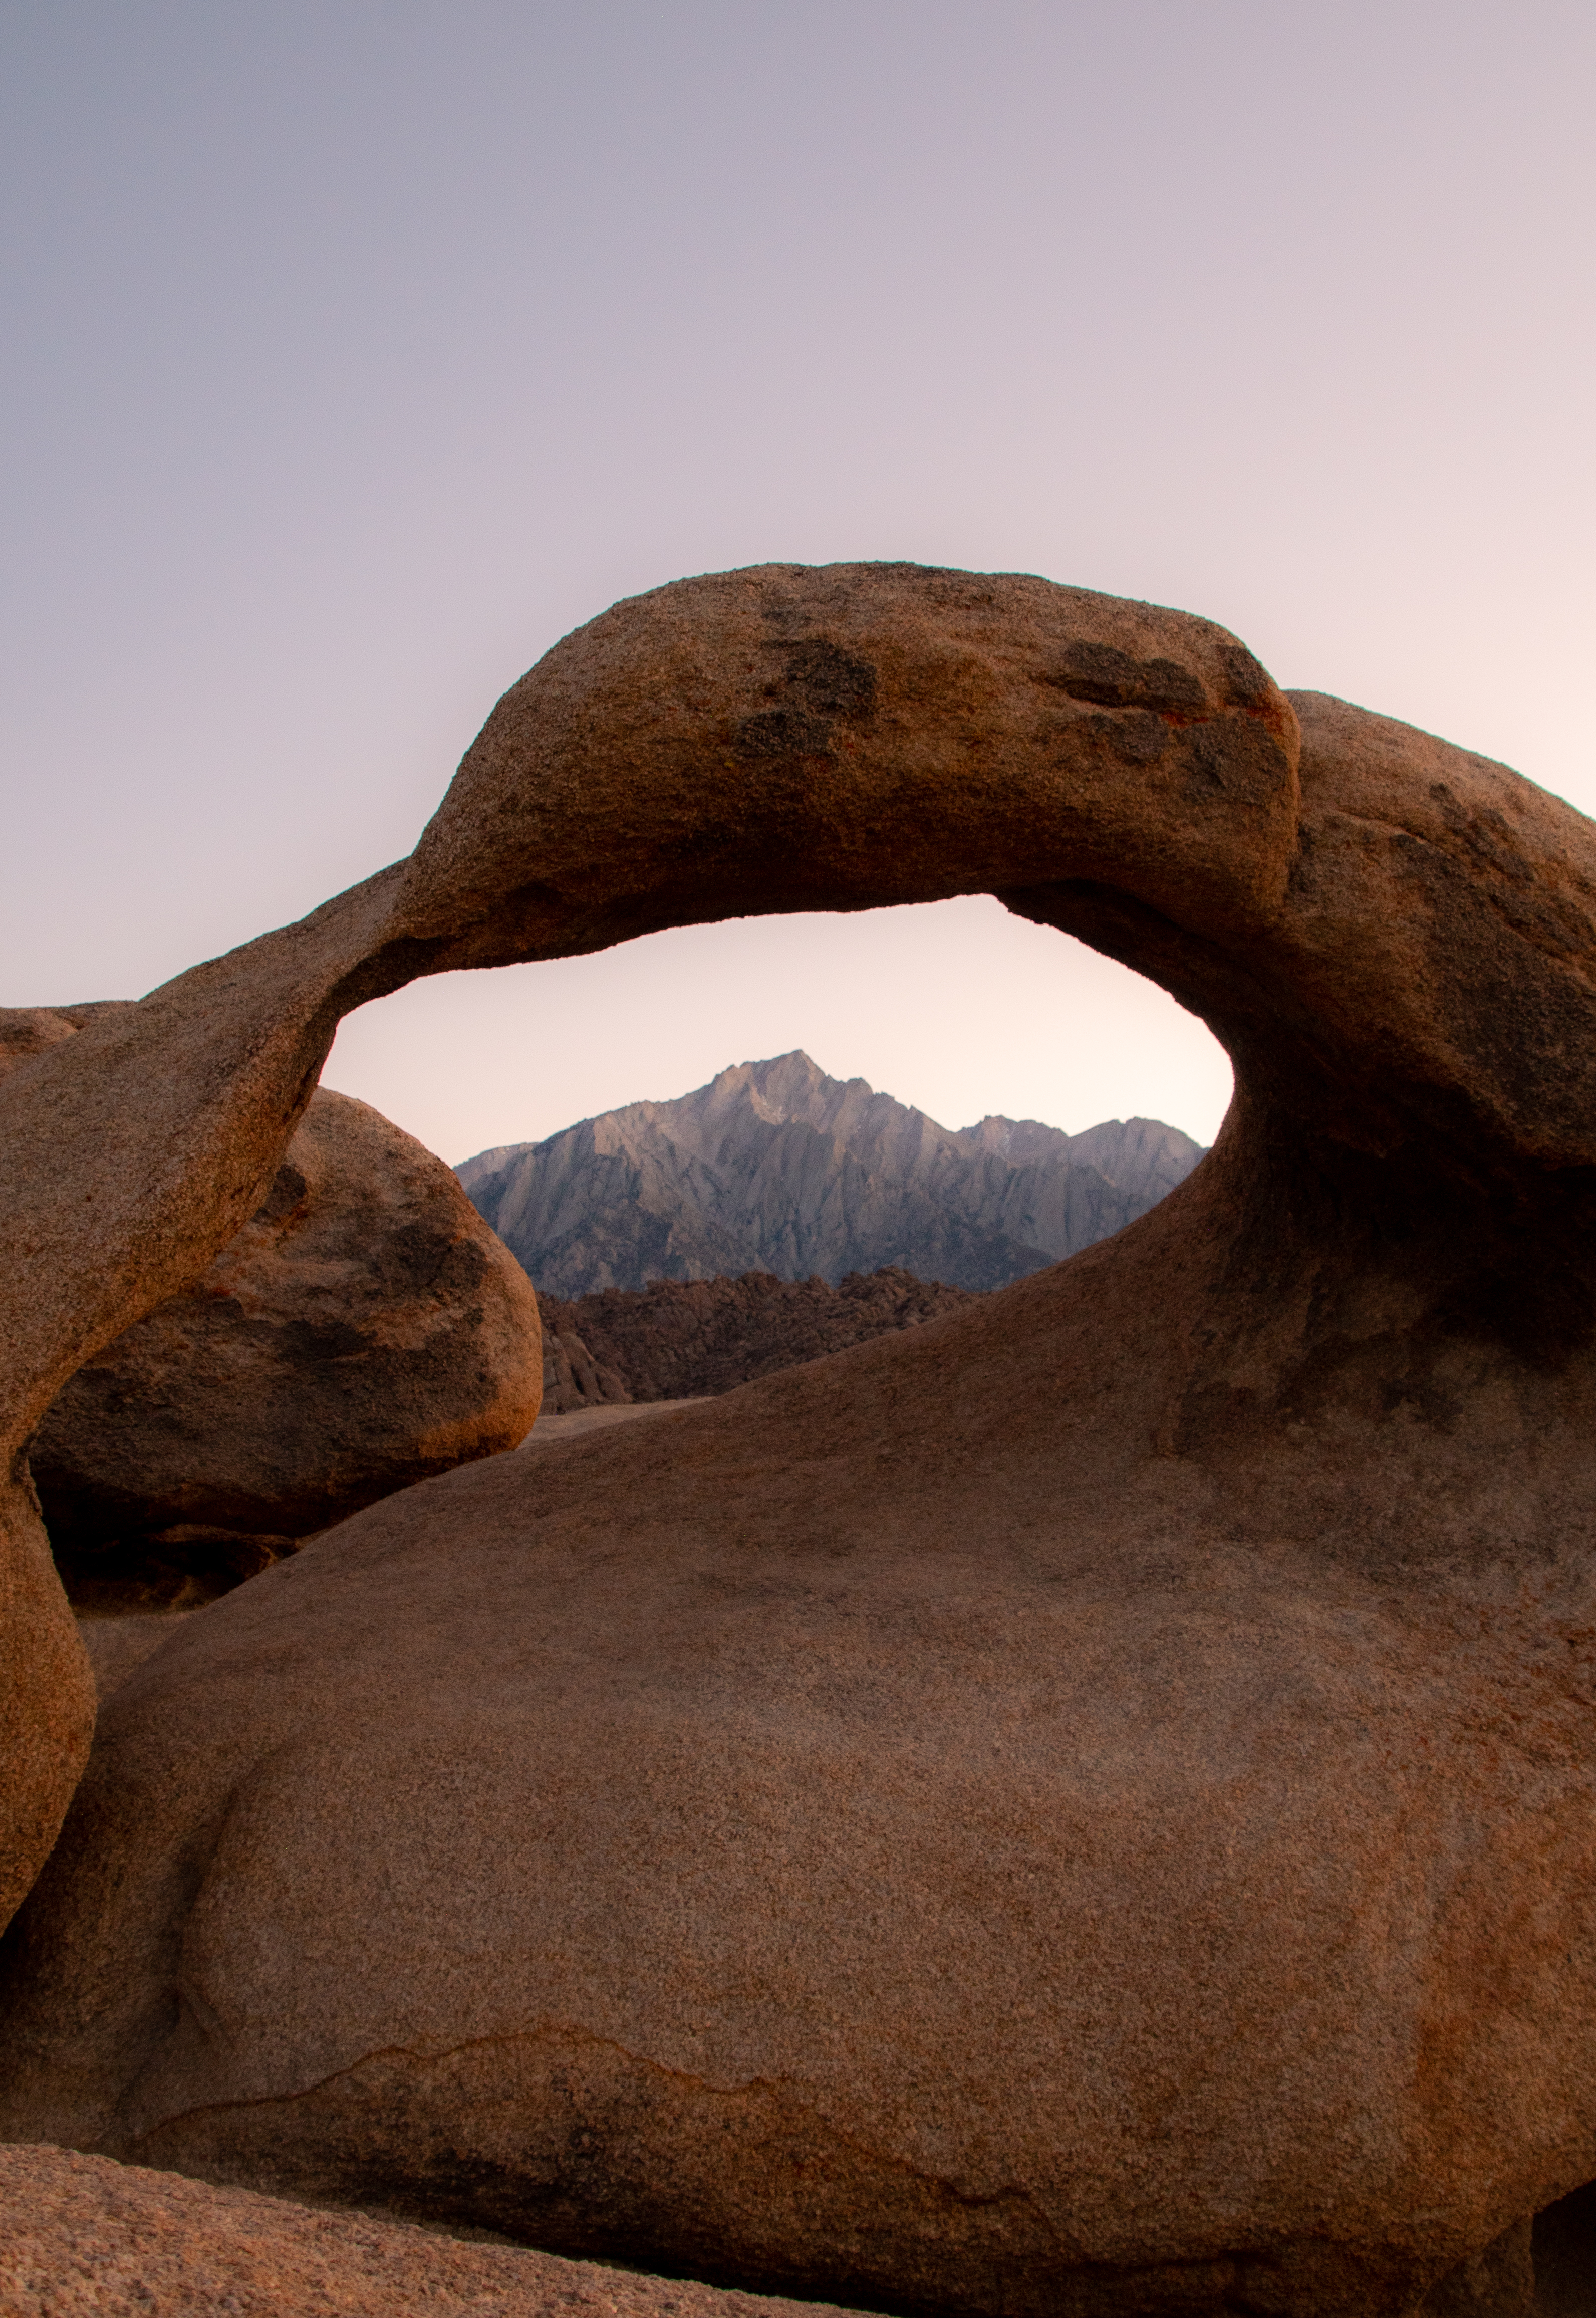
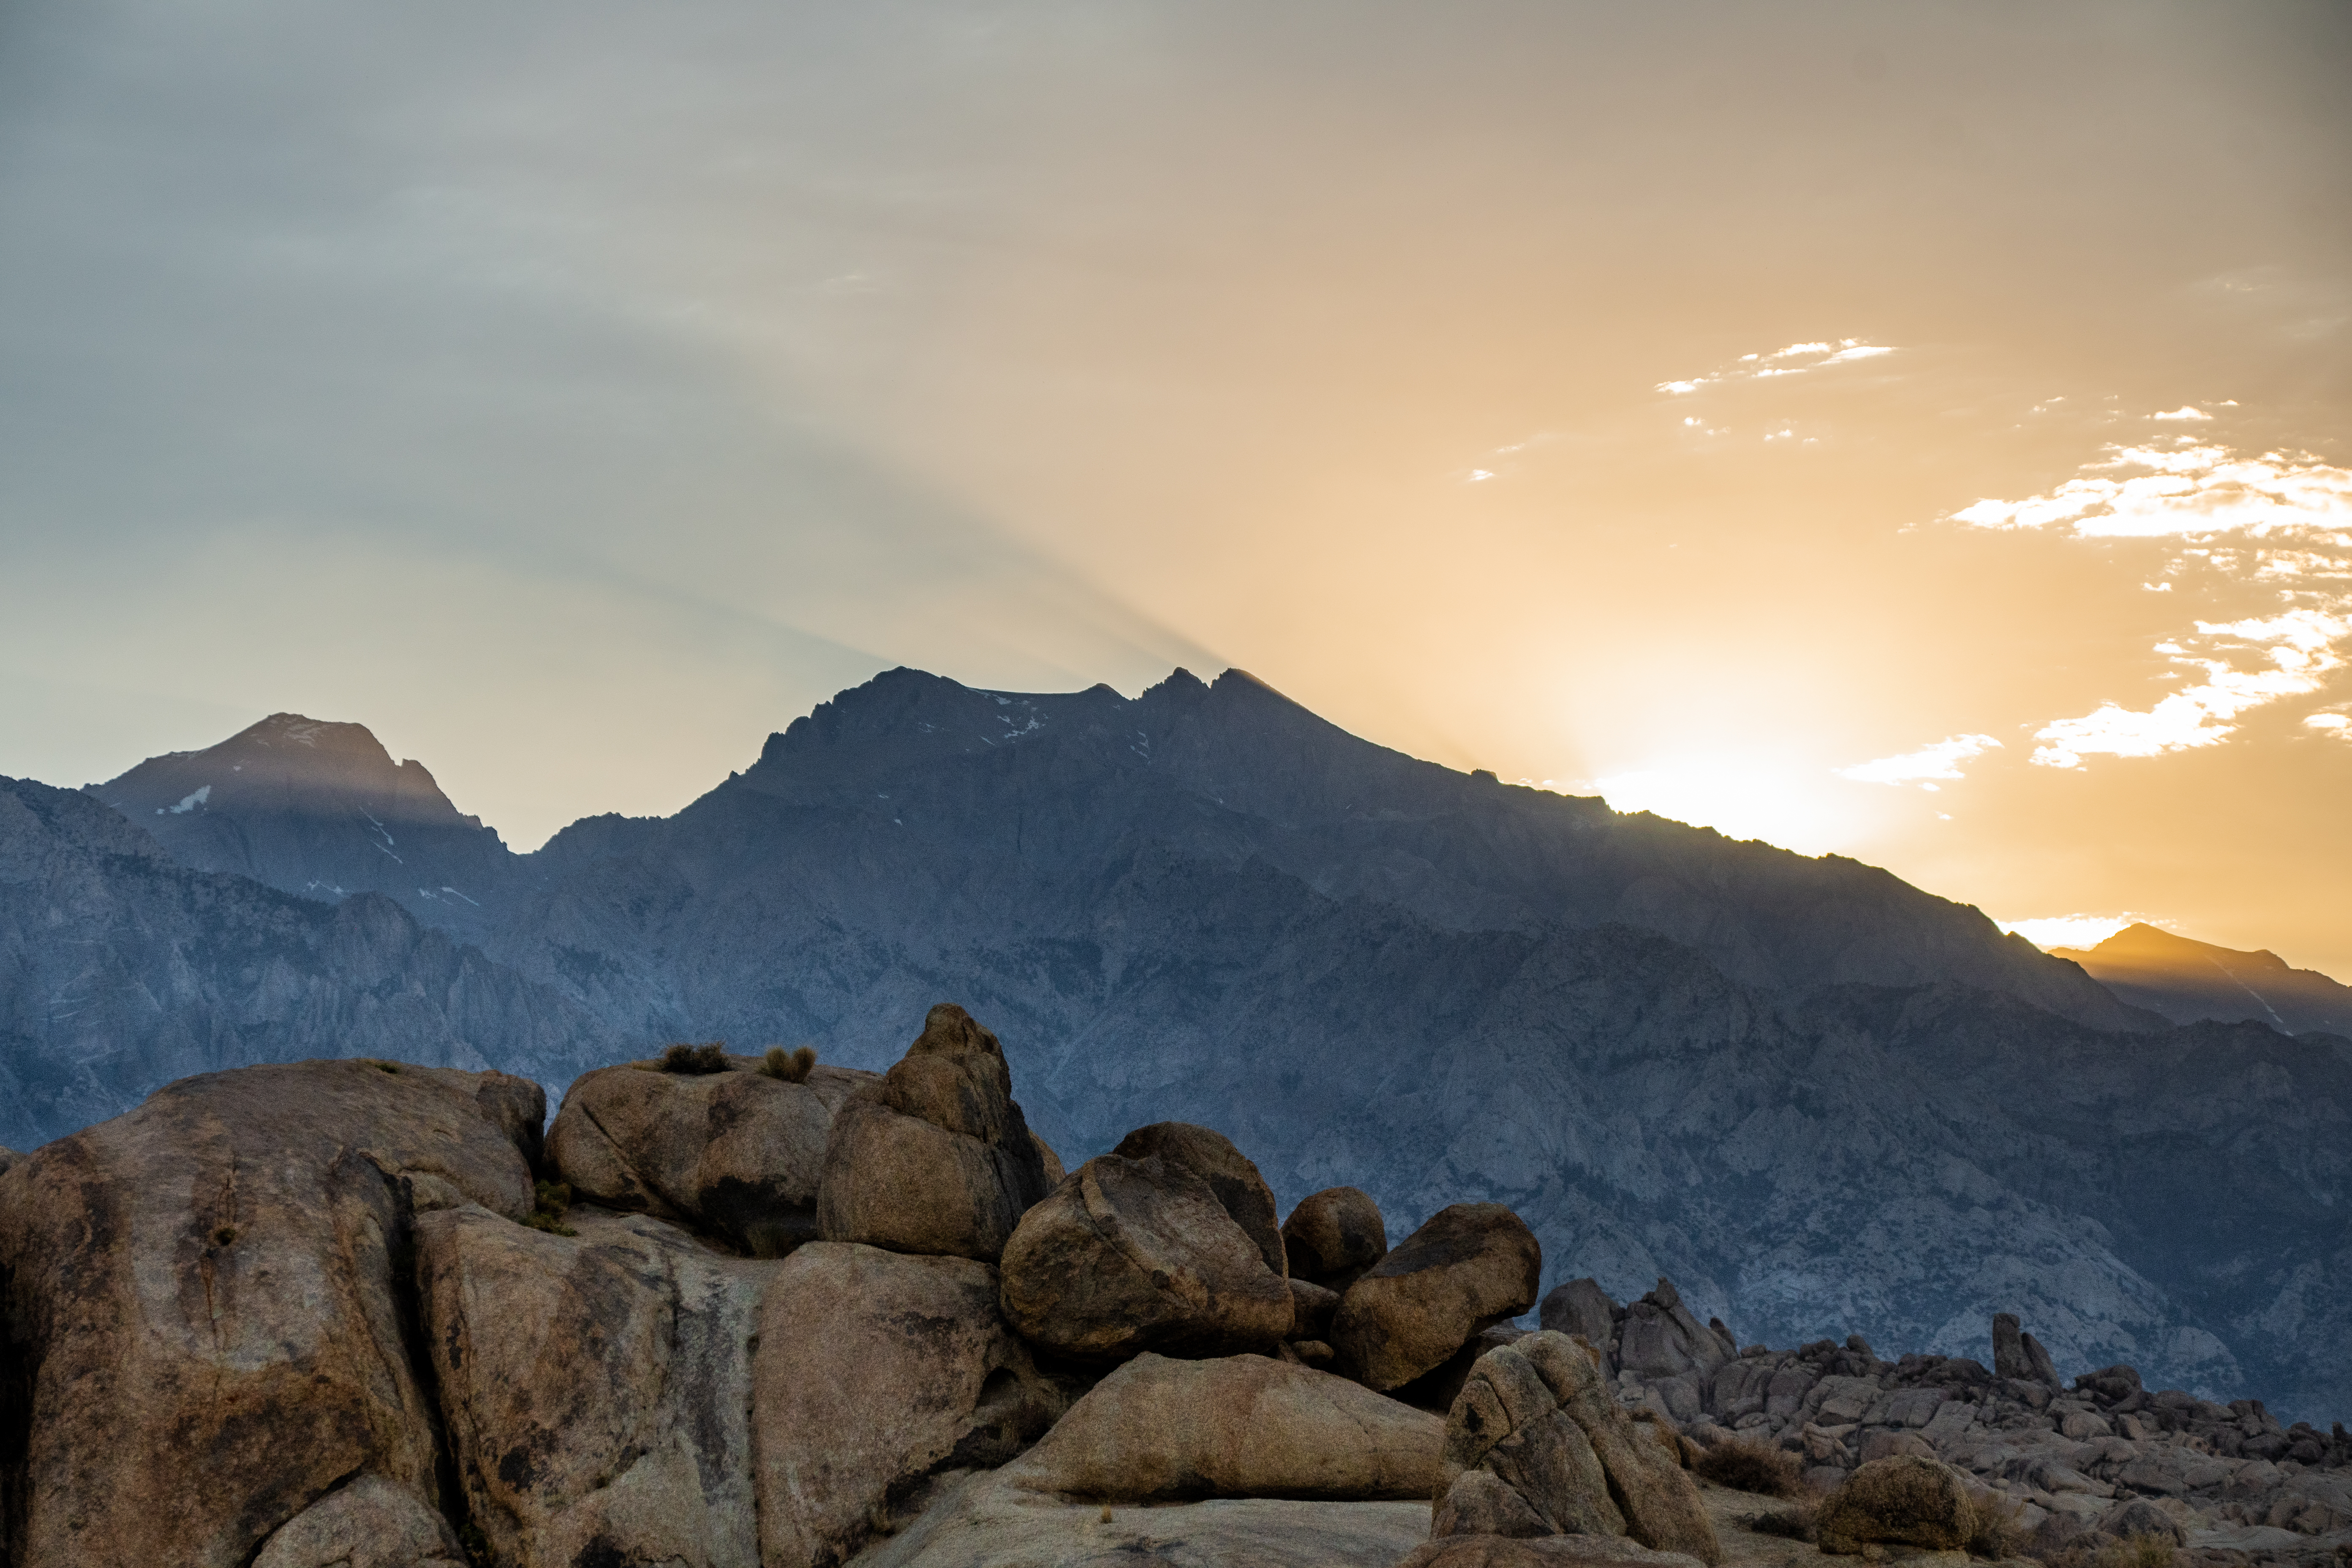
It is so important to acclimate because altitude sickness is very serious, especially when you’re on top of a mountain. We camped at the Alabama Hills for two nights prior to the hike to be at about 4,500 feet. I highly recommend this area! Camping here is stunning (CAMPING RULES HAVE CHANGED PLEASE RESEARCH BEFORE GOING) and you’ll have a perfect view of Mt Whitney. We also drove up to 10,000 feet the day before to walk a couple miles, rest and hang out at a higher elevation for a few hours. You should do this too!
DIAMOX at 14,508 ft
Another way to fight off altitude sickness is by taking Diamox. You can get this prescription at your local pharmacy. I had no issue explaining why I needed it, they gave it to me with few questions asked. I took this twice a day for two days leading up to the hike, and one the morning of the hike. I felt no symptoms of altitude sickness. It’s possible I didn’t need it, but I wanted to assure I could summit. Two of my other hiking group took the pills, and one did have a couple symptoms, however he was able to summit. It just depends on the person, so do some research and decide what’s best for you.
Packing for the hike
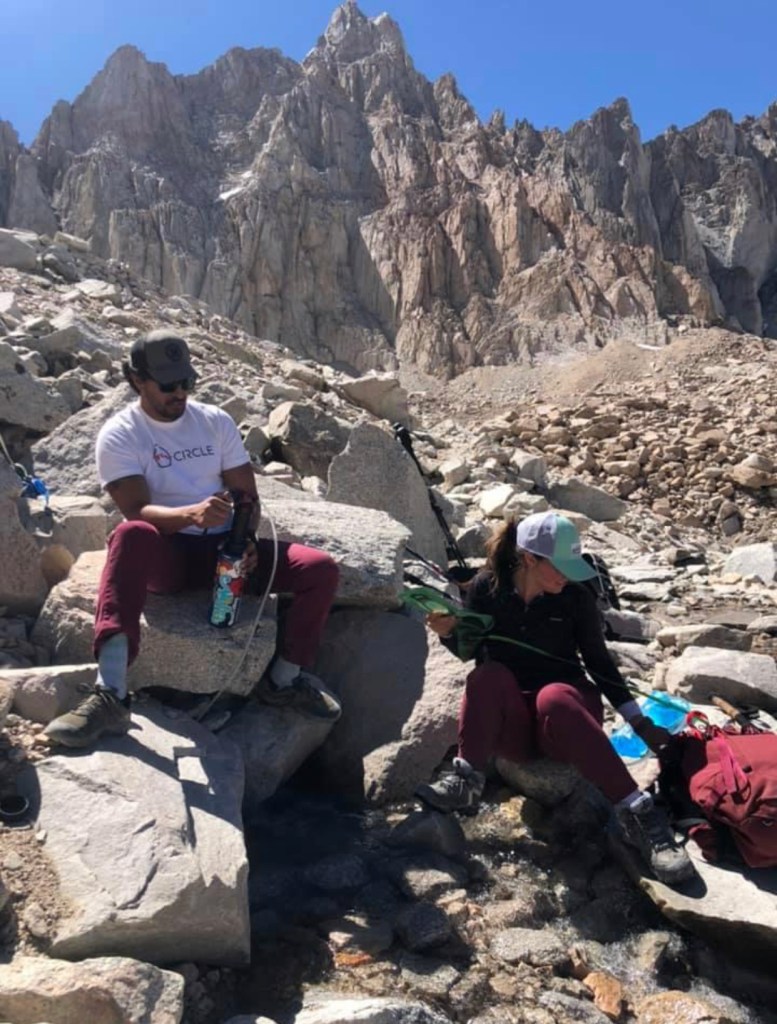
As I mentioned before, the gear you will need depends on what the current conditions are. We joined the Facebook page for Mt Whitney to keep up to date with trip reports. There was hardly snow when we hiked so we did not need an ice pick or crampons/spikes. We did bring crampons along just in case, but ended up never using them. My hiking essentials can be found here by the way! Hiking Gear, Snacks, Clothing
What we did need was trekking poles, hiking boots with great traction, layers of clothes, a hat of some sort to keep the sun off our face (plus sunscreen,) and extra socks. We packed 2,000-3,000 calories of food/drink depending on our weight. I weigh about 135 lbs and was sure to consume 2,000 calories. I did this through energy chews, bars, nuts, and Tailwind (a high calorie and electrolyte replenishing drink.) Pack a variety of stuff because it’s hard to keep eating at some points. Bring junk food if needed! High sodium foods are totally accepted when you’re summiting a mountain. Water is also extremely important! It will make your pack heavy, but to stay alert and moving we brought about 3-4 liters of water each. For the first 7 miles there are places to refill water with a water filter. Water Purification Filter I Brought Along
The bag I used was an Osprey 45 litter, XS women’s bag. It was the perfect size to fit all of my clothes, food, water, and camera + one lens. I had lots of room left as well. I flew into San Diego with all of my stuff and it was packed full with all of that! I’ve linked the exact pack here: Osprey Day Pack


Hiking Mount Whitney
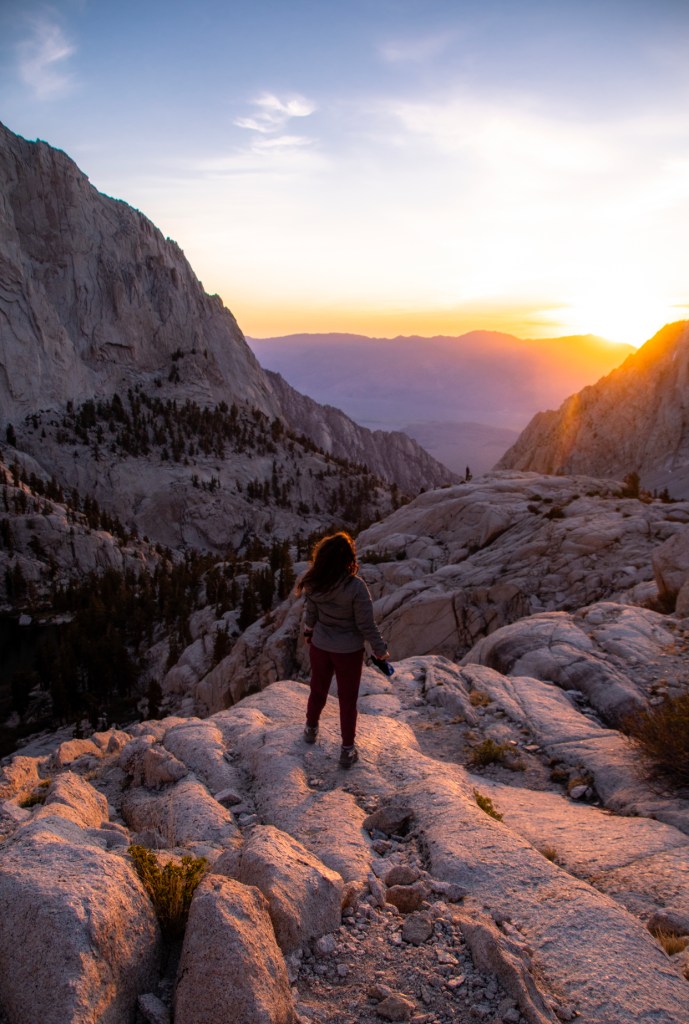
We woke up at 1:30 at the Alabama Hills and packed up camp to head up to Whitney Portal. Remember not to bring ANY food in your car that will park at the trailhead. Bears will break in no matter how locked your car is. Leave any scented items such as chapstick or lotions too. We had 2 vehicles and left one at the Alabama Hills and drove the other cleaned out one to the trailhead. We began hiking right at 3AM. Head lamps are necessary to see where you’re going for the first 3-4 hours.
The first 4-6 miles is in a foresty area where you’ll hike up switch backs and over logs crossing streams. The incline is very gradual here but be sure to pace yourself because it’s about to be a long day of hiking! In the beginning, we averaged about 25-30 min per mile. Every 50 minutes we stopped to take a 10 minute break. Even if you don’t want to break, do it! We firmly believe this is why we felt wonderful getting up the mountain. Starting right at 3AM made it easy for us to track. By 3:50, we sat down, ate a snack, went the bathroom, and continued on at 4:00. We held this schedule all the way up to the summit, with a couple extra breaks if needed. We spent about 20 minutes at trail camp to all go the bathroom, refill water, and eat at least one full sandwich. Trail camp is roughly half way.

Summit Push from Trail Camp
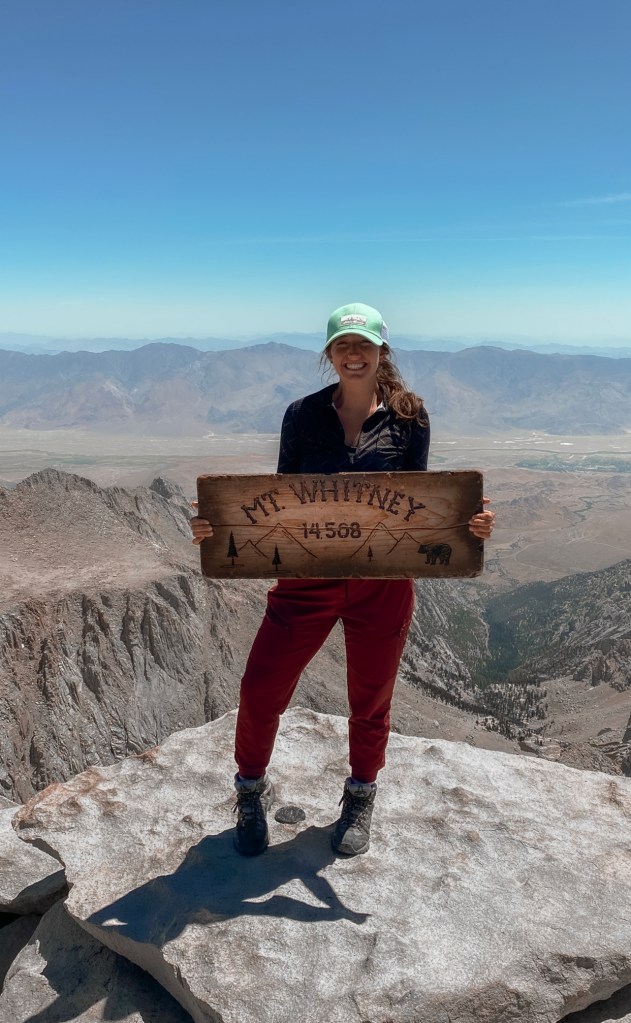
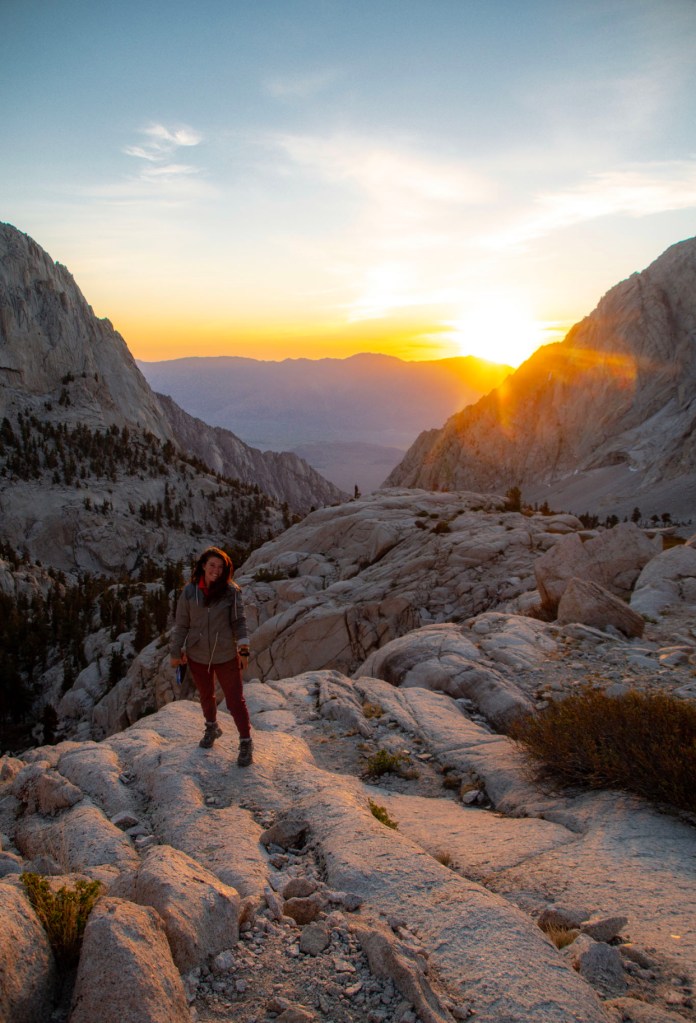
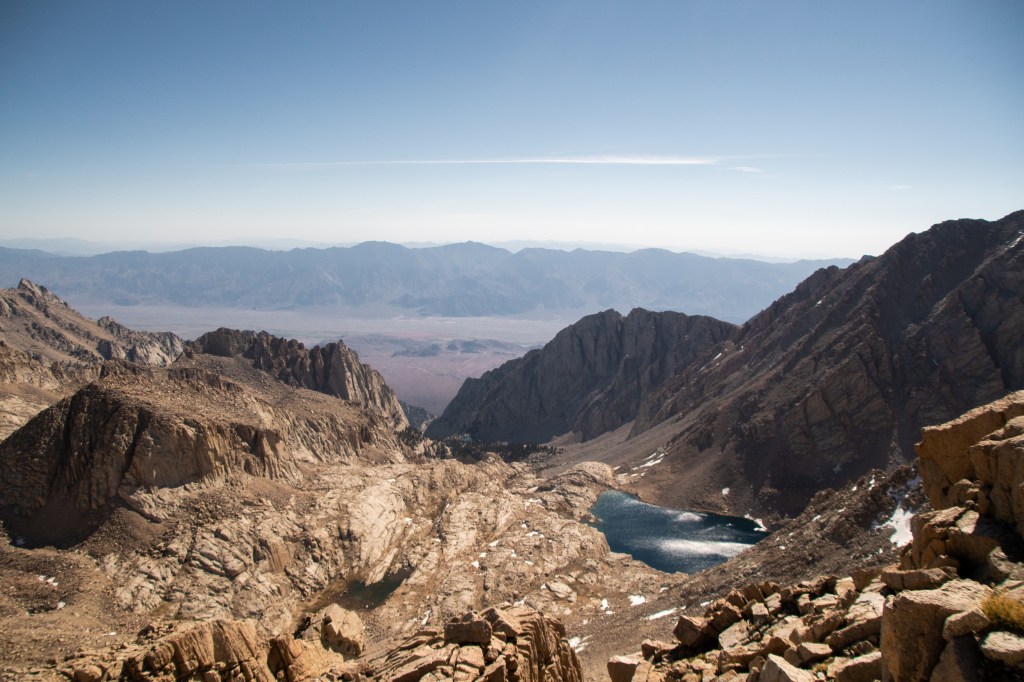
Once you reach Trail camp, the hike takes a turn! You have now entered true mountain terrain. Hike up the infamous 99 switch backs up the side of a neighbor mountain to get to the ridges. When you get to the ridges you’ll see Sequoia National Park! You’ll arrive at the sign that says 1.9 miles to summit. Get excited, but not too excited, these last couple of miles took us the longest. We probably took 45-50 minutes on the final mile, climbing 1,000 feet in elevation up to the top of the mountain. Hitting the flat summit of Mt. Whitney felt absolutely incredible. The feeling of being on top of the world and seeing the mountains all around us left us without words! There is a beautiful wooden sign that will say Mt. Whitney 14,508 feet. Take some photos at the top and enjoy a well earned snack while congratulating everyone who made it up. We hung out here for about an hour just to take in all the happiness! We submitted at 11:30 am, taking us about 8.5 hours to get up. Shout out to these three amazing hiking buddies, Ali, Adam, and Evan!


What goes up must come down
Hiking down is very long, and due to fatigue it’s truly just as hard as getting up. There are lots of rocks and boulders to climb around or on top of. Just be sure to take your time and use your trekking poles! It will save your knees and take some of the weight off your legs.
Watch your step and be careful on slippery rocks. There is snow on the 99 switch backs generally year round and we did have to hike on a couple spots of snow, but we’re able to avoid most of it. The rocks are slick where running water is keep your center of gravity over your feet (don’t lean too far forward or back) and watch your step!
The Final Stretch
We didn’t stop every 50 minutes going down, we just made sure to communicate and take breaks when needed. The sun made us really hot around 2:00 and we were so thankful to have had a hat and long sleeves on. I highly recommend covering as much skin as possible to avoid sun exhaustion too. We wore sunscreen even with hats on!
Continue eating and drinking all the way down to keep your energy up. Prepare for some extremely sore feet and probably legs and shoulders. Just keep on being so proud of yourself for summiting and you will be down before you know it! The end is fun to see in the light as well since a majority of the first part of the hike were done in the dark.
Going the Bathroom
*Gross but important!* It’s important to note that you cannot leave your poo on the mountain. Pick up wag bags as you’re starting your trip because you will probably need one on the way down. The amount of food we ate up there was more than usual, and either we got down with awful stomach aches needing to run to restroom at the trailhead, or the bags were utilized. A symptom of AMS (altitude sickness) is GI issues, so grab a bag just to be safe since you don’t know if it will hit you! There are plenty of rocks and trees to hide behind on most of the trail to go, with the exception of the 99 switch backs, we did end up taking a pee break here anyway. No shame hahaha.
We got back to our vehicles at 7:00PM, making our trip a perfect 16 hour hike.
Enjoy your trip to Mt. Whitney and feel free to ask me more questions by reaching on on Instagram at @earthtosarahphoto and get yourself some of my prints here: https://earthtosarah.darkroom.com to support more adventures like these!


What an amazing adventure!
Thanks for sharing all the details. Now I can start planning my hike!
LikeLike
Thank you so much for the support! 🙂
LikeLike